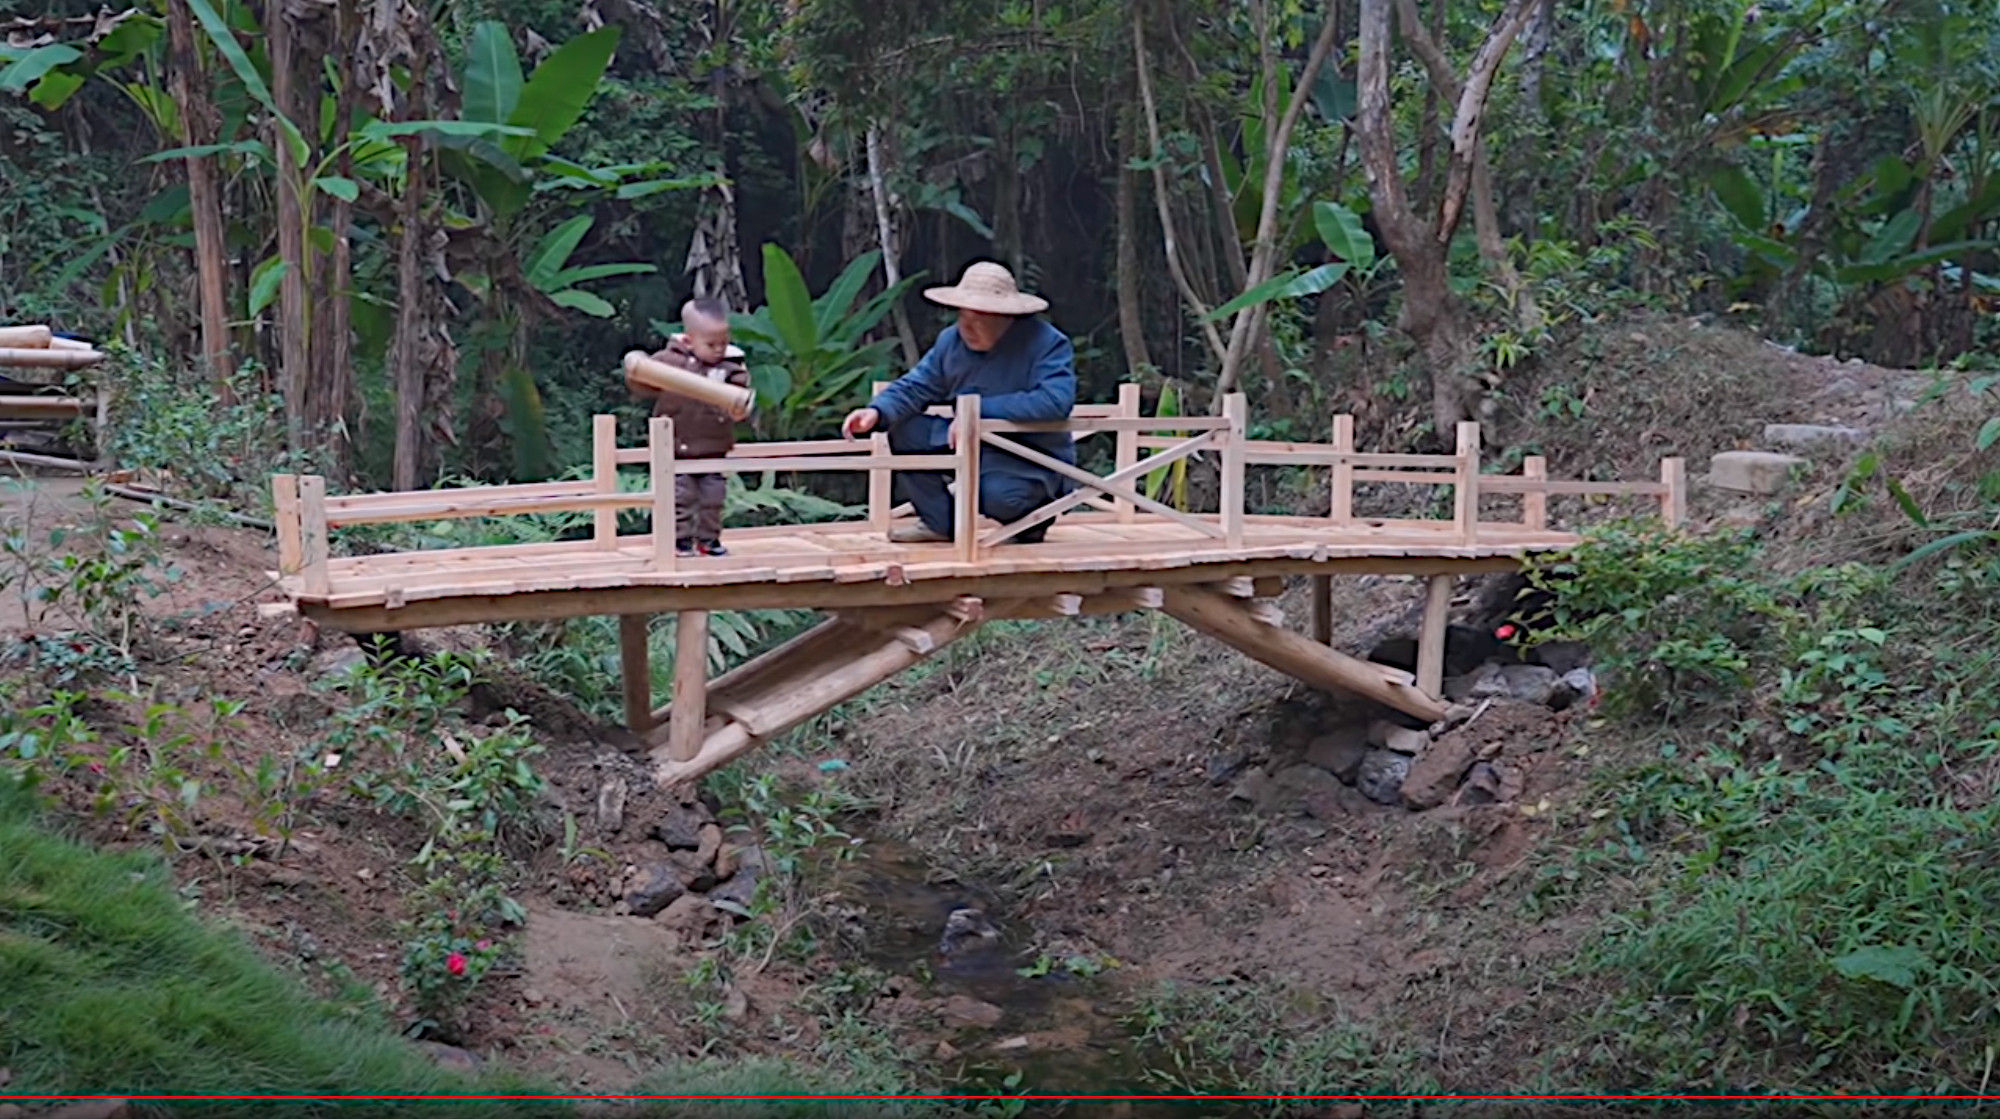
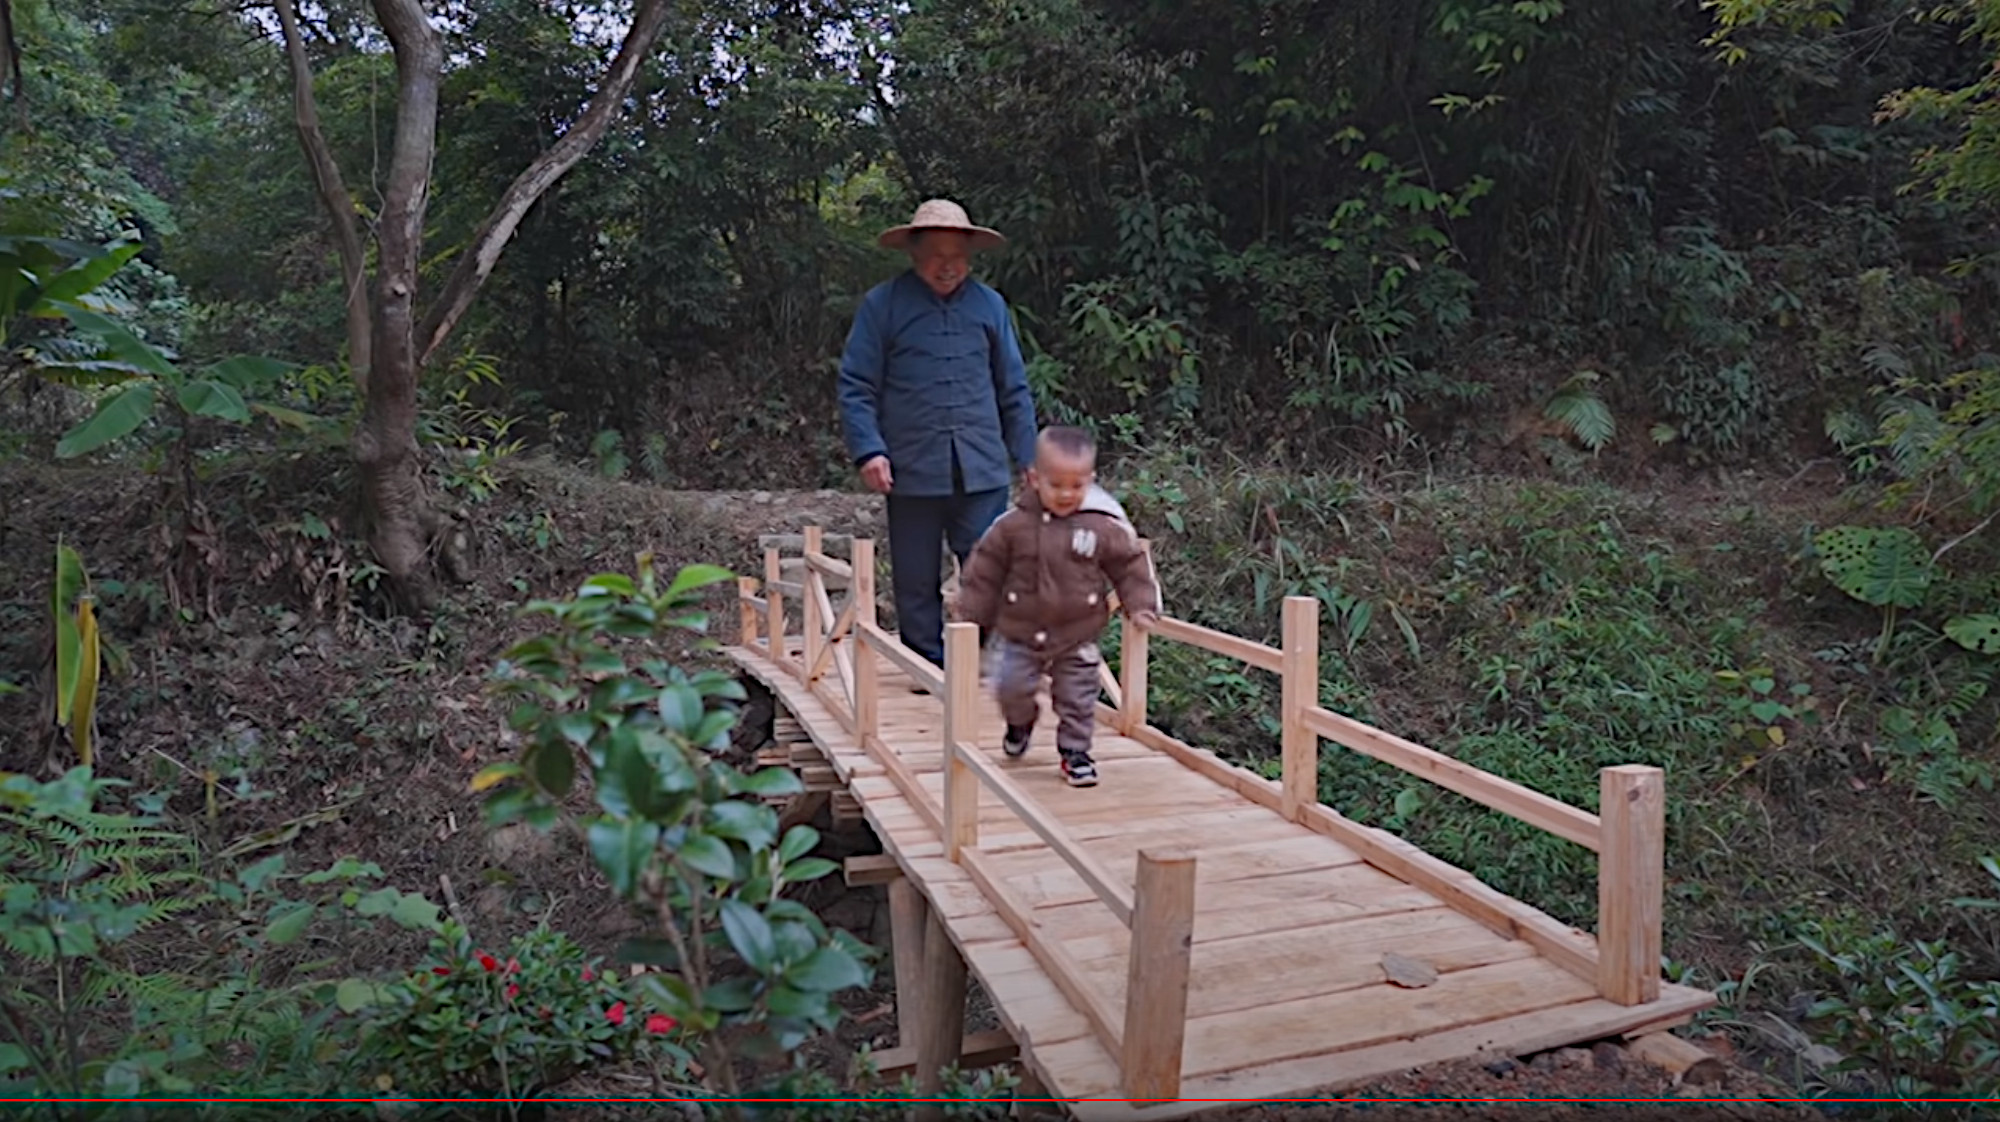
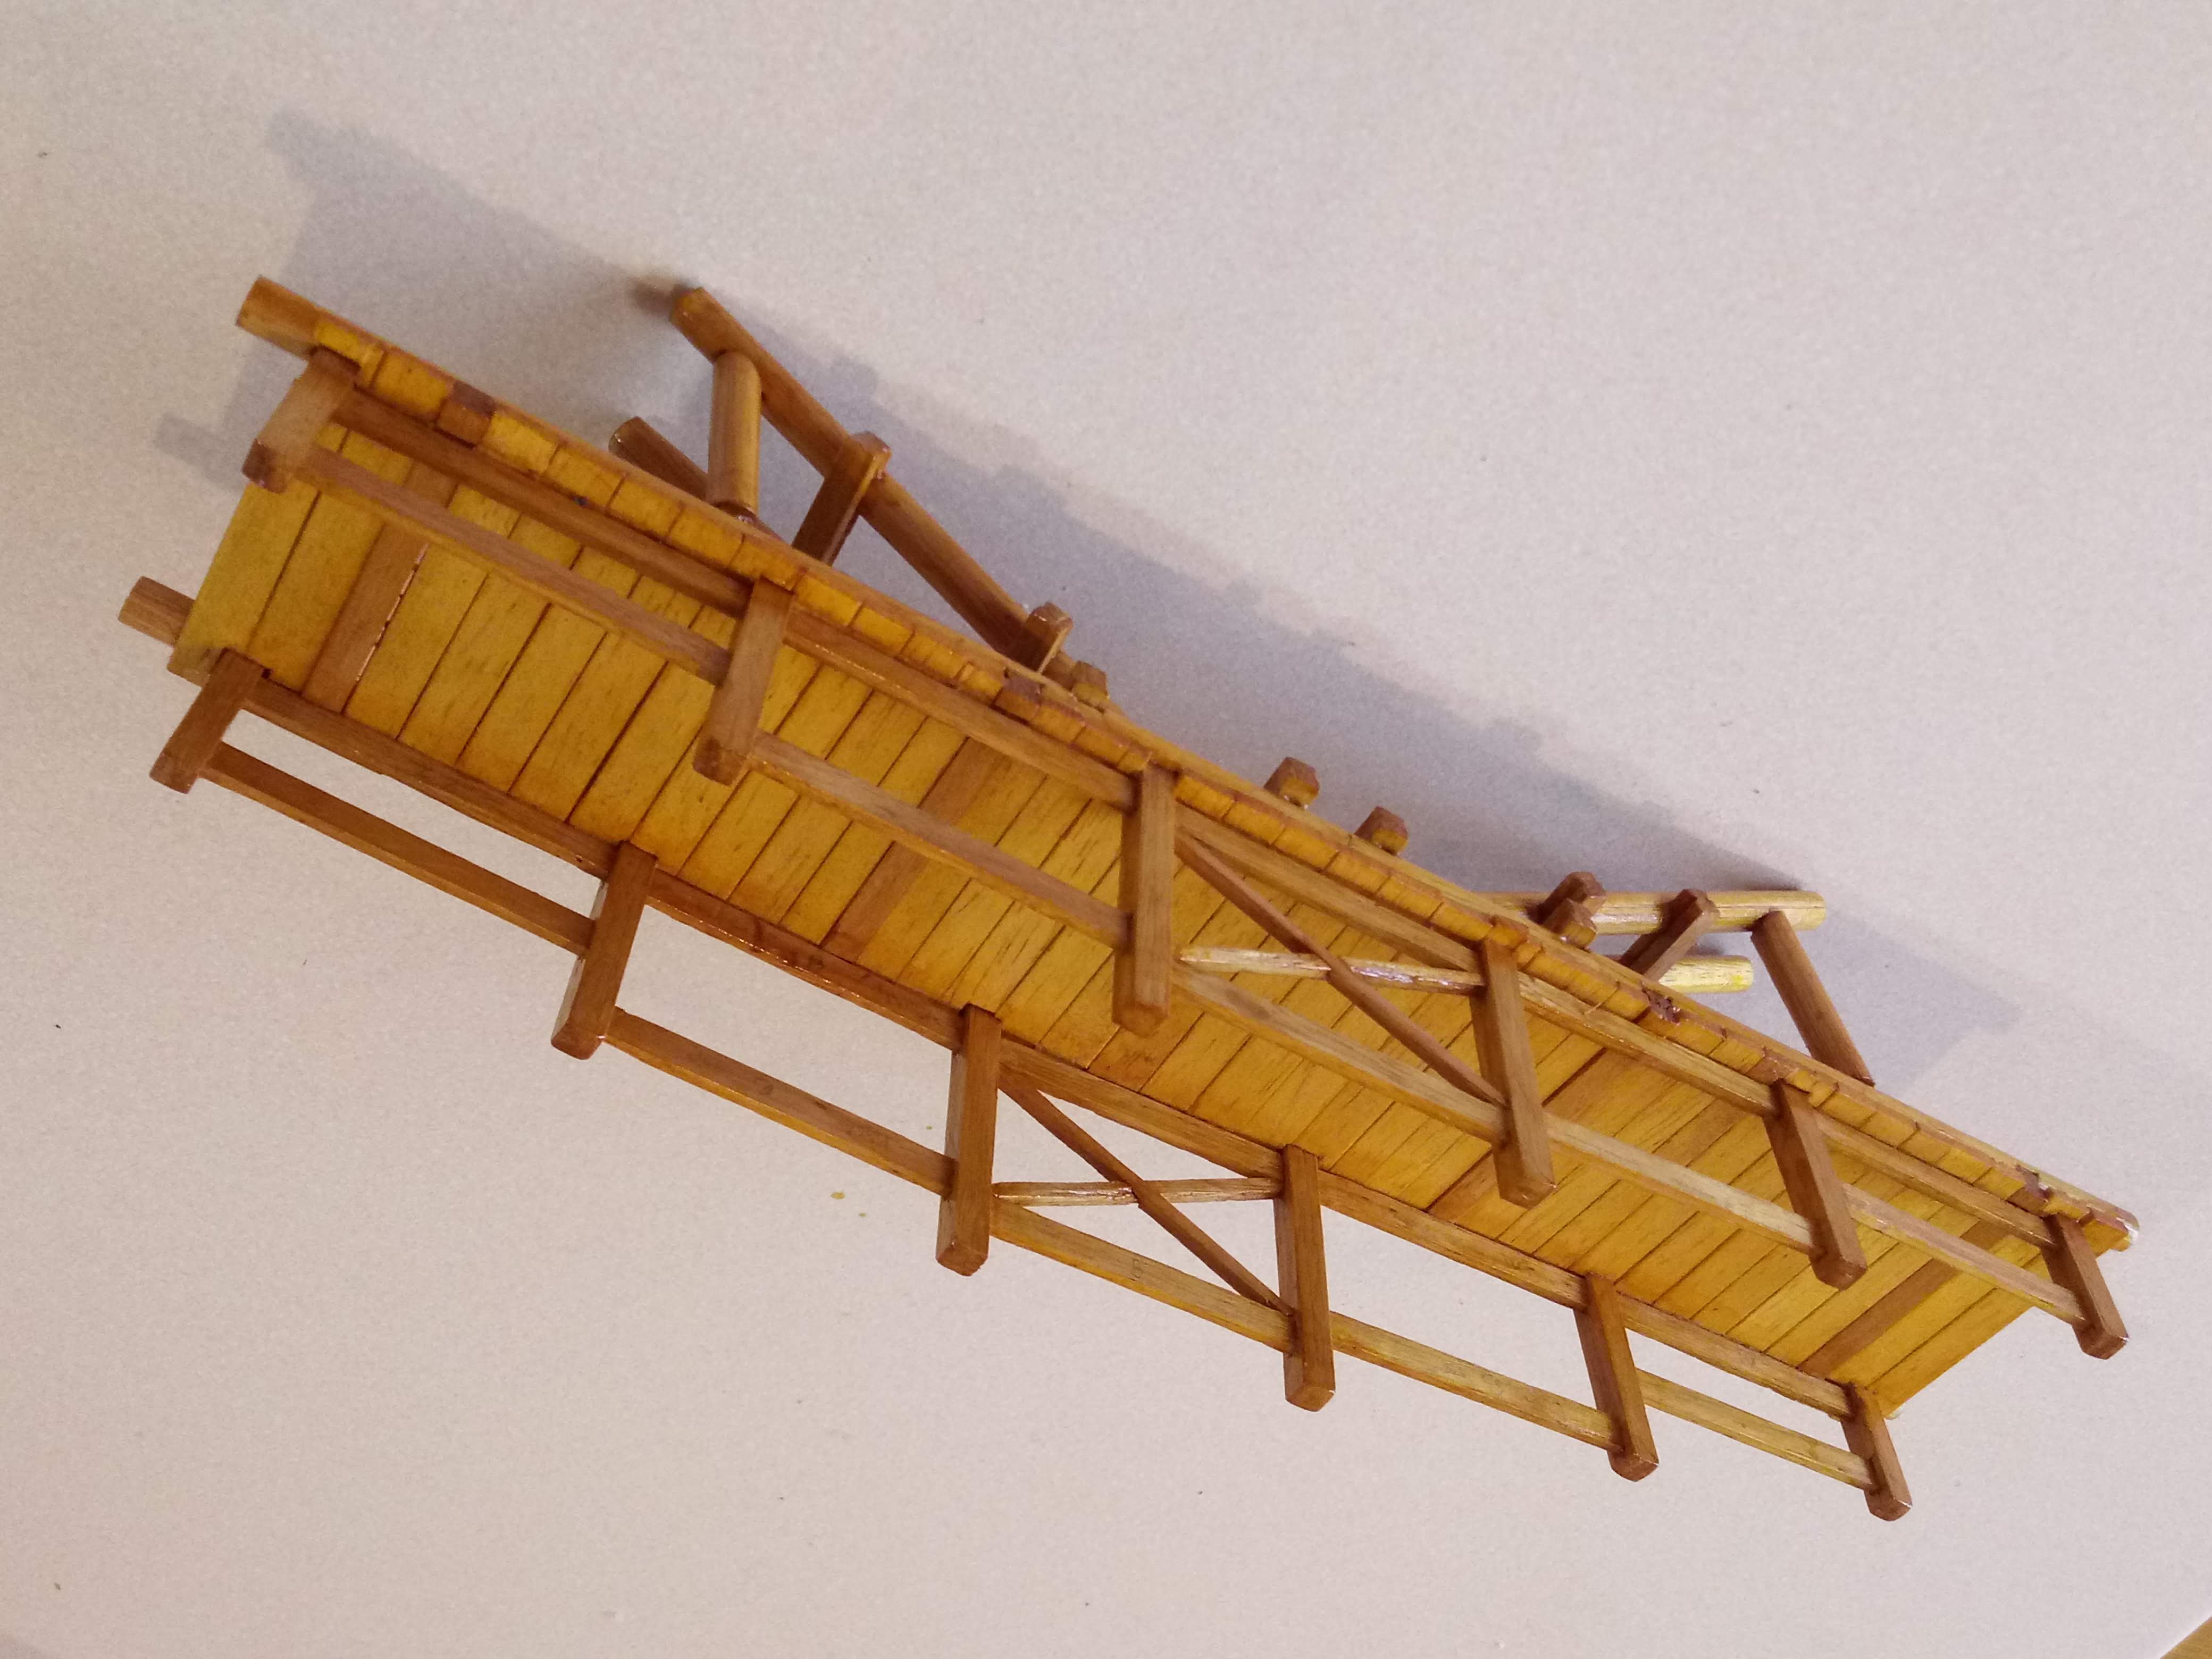
grandpa-amus-bridge
Model of the traditional Chinese bridge constructed by Grandpa Amu
Grandpa Amu’s Bridge
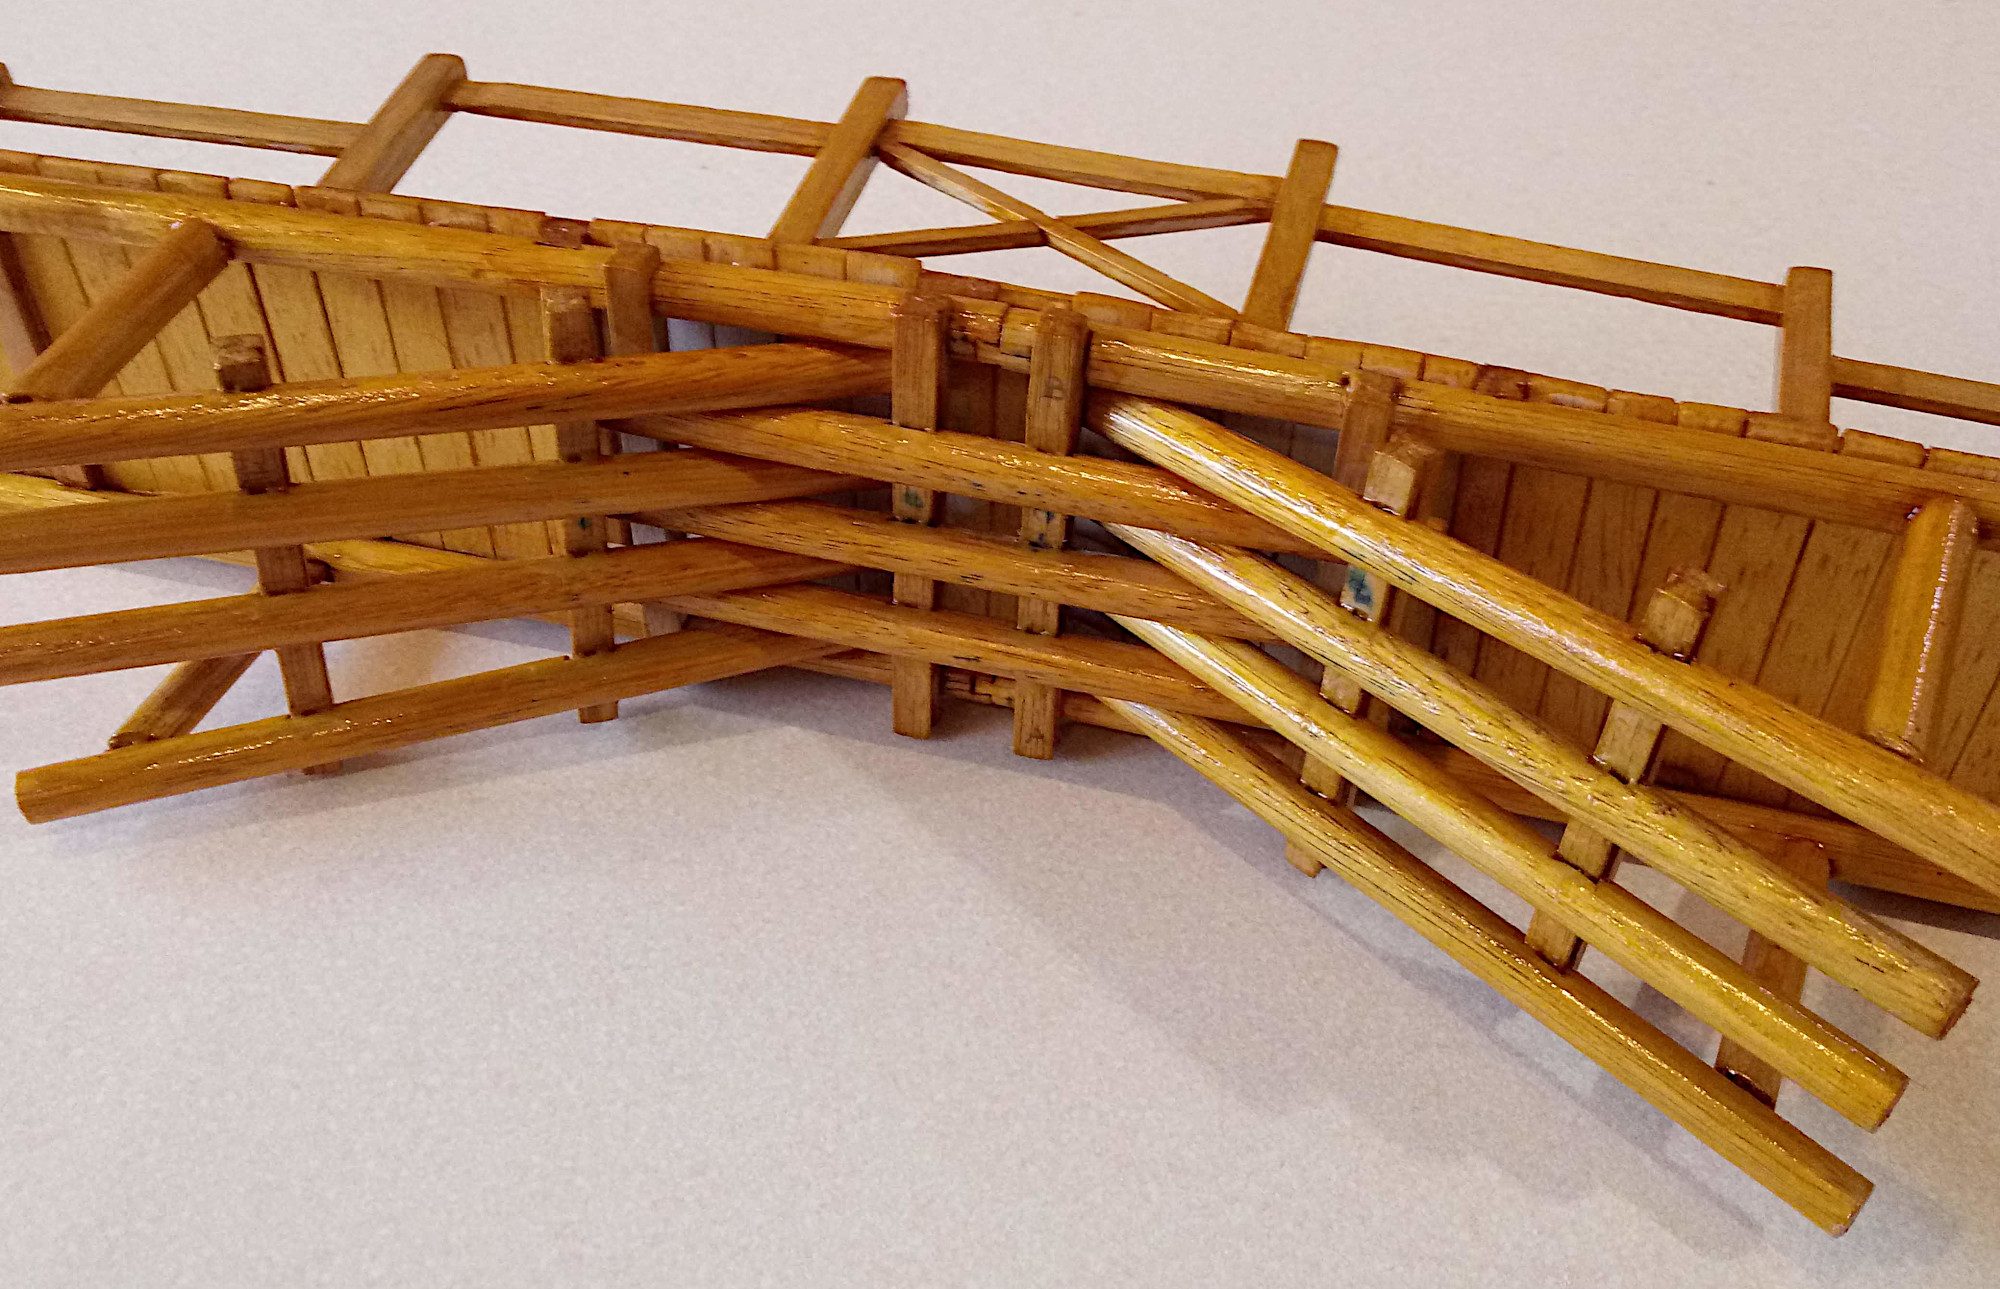
I found this traditional Chinese bridge design and construction captivating. The interlocking pieces mean that no fasteners or glue is required and it gets stronger under load.
Construction video and more, because who can get enough?
CAD model
First I created a CAD model using DeclaraCAD.
This worked pretty well as there are lots of repeated parts, and by
using the Cut operation, mortises could be automatically created in
exactly the right locations for the tenons.
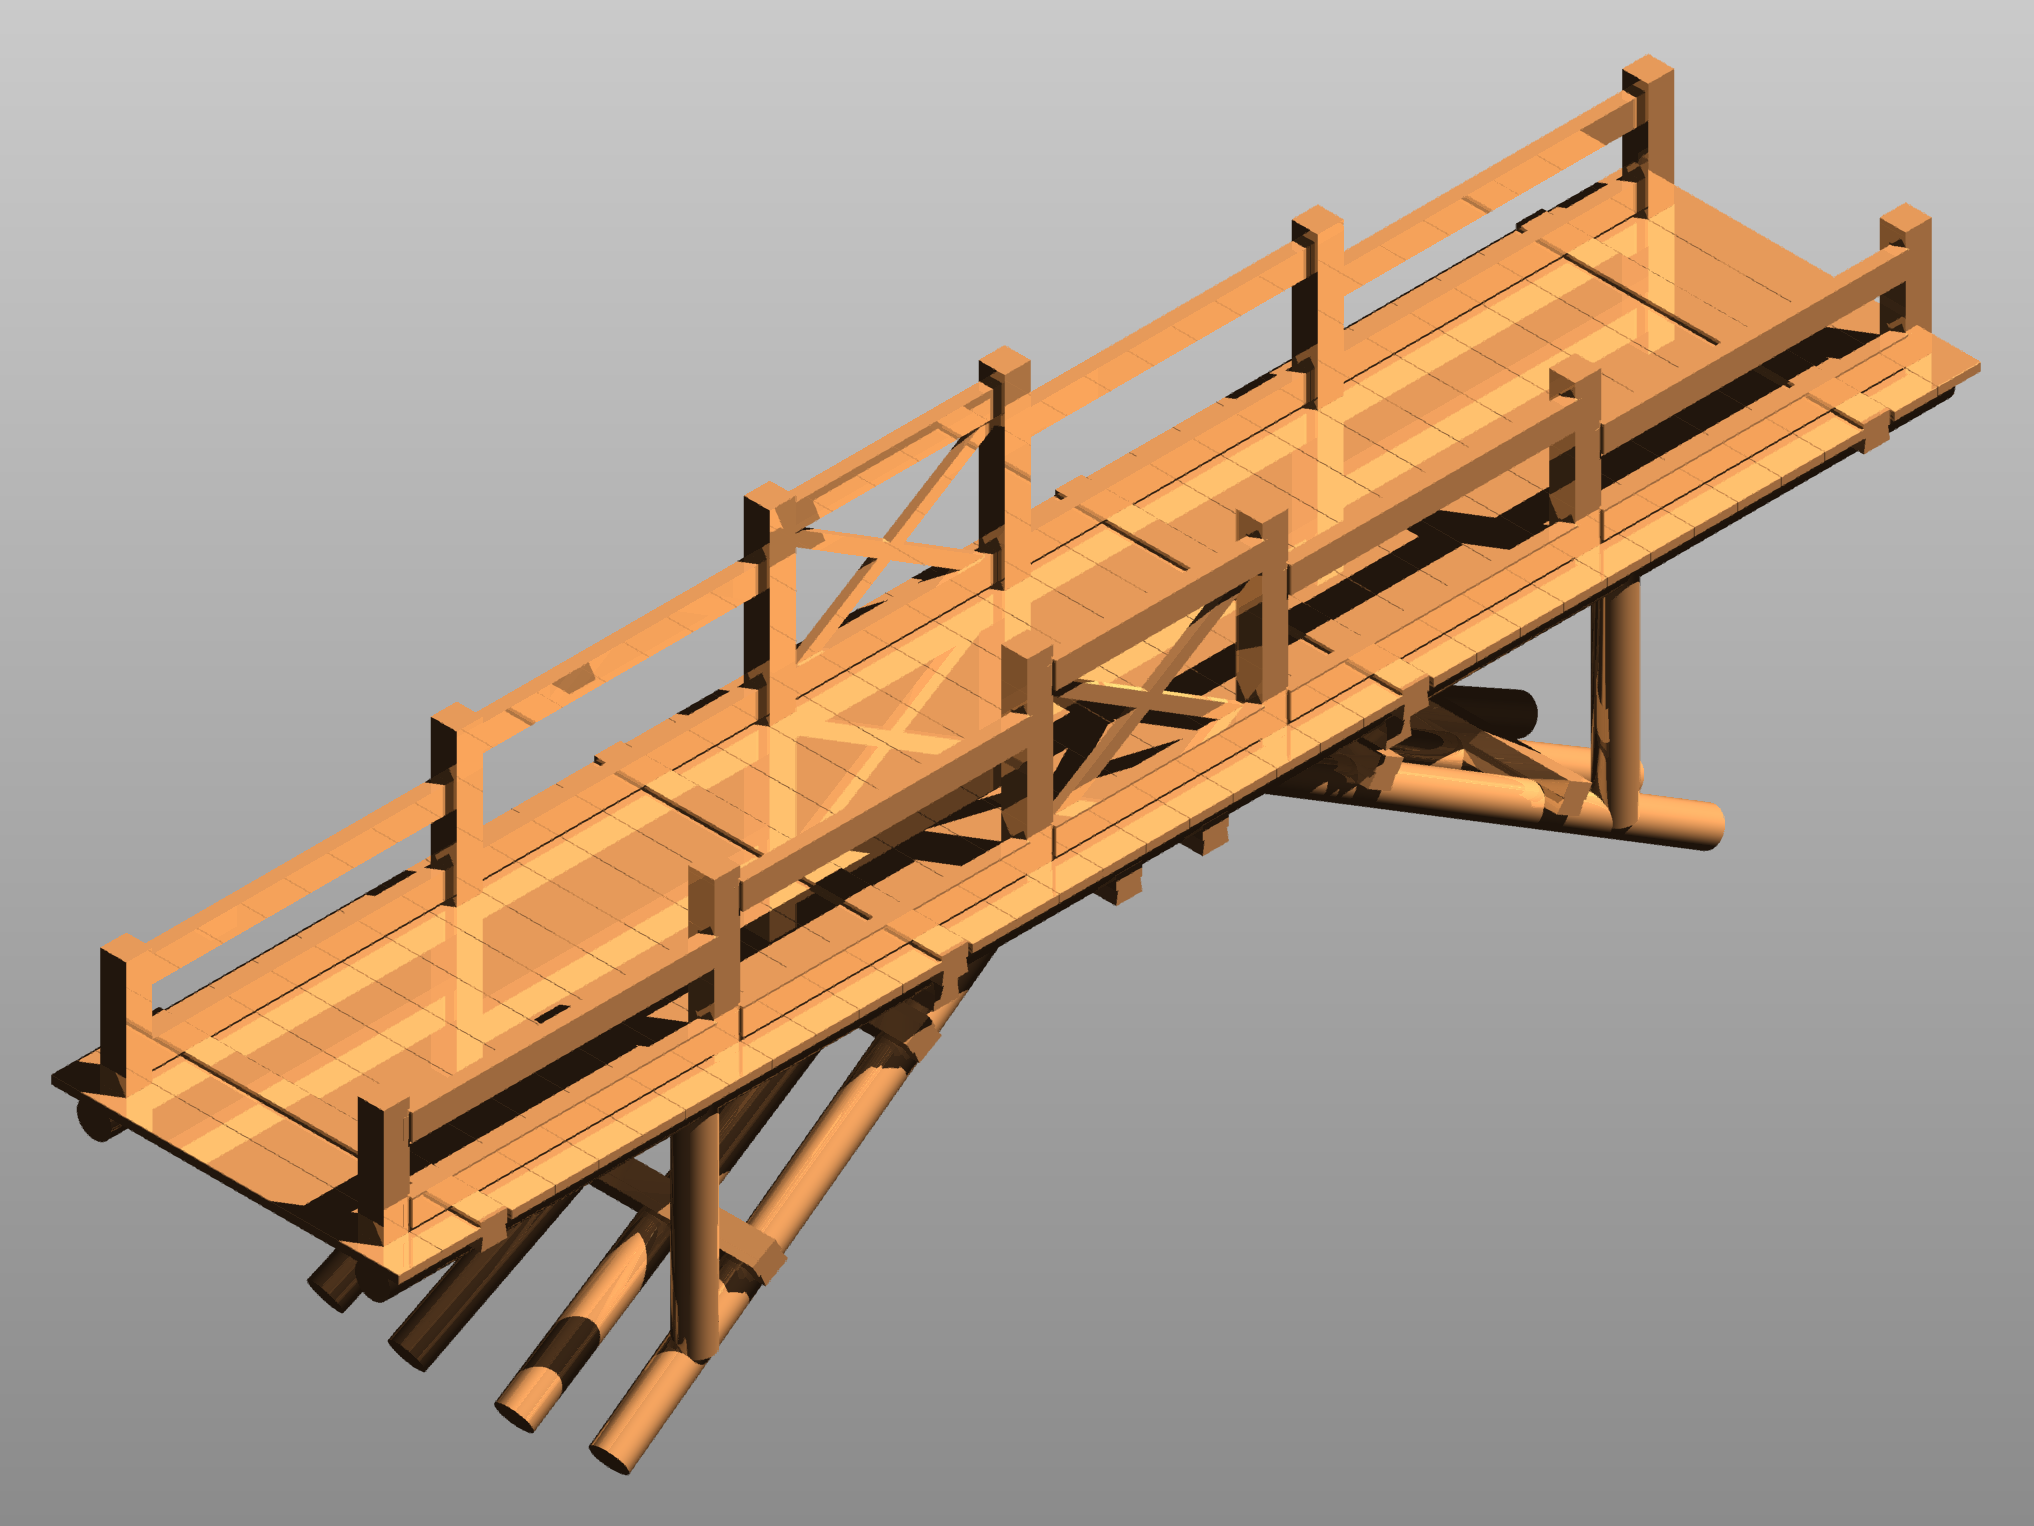
Transparency helps see the structure and joints:
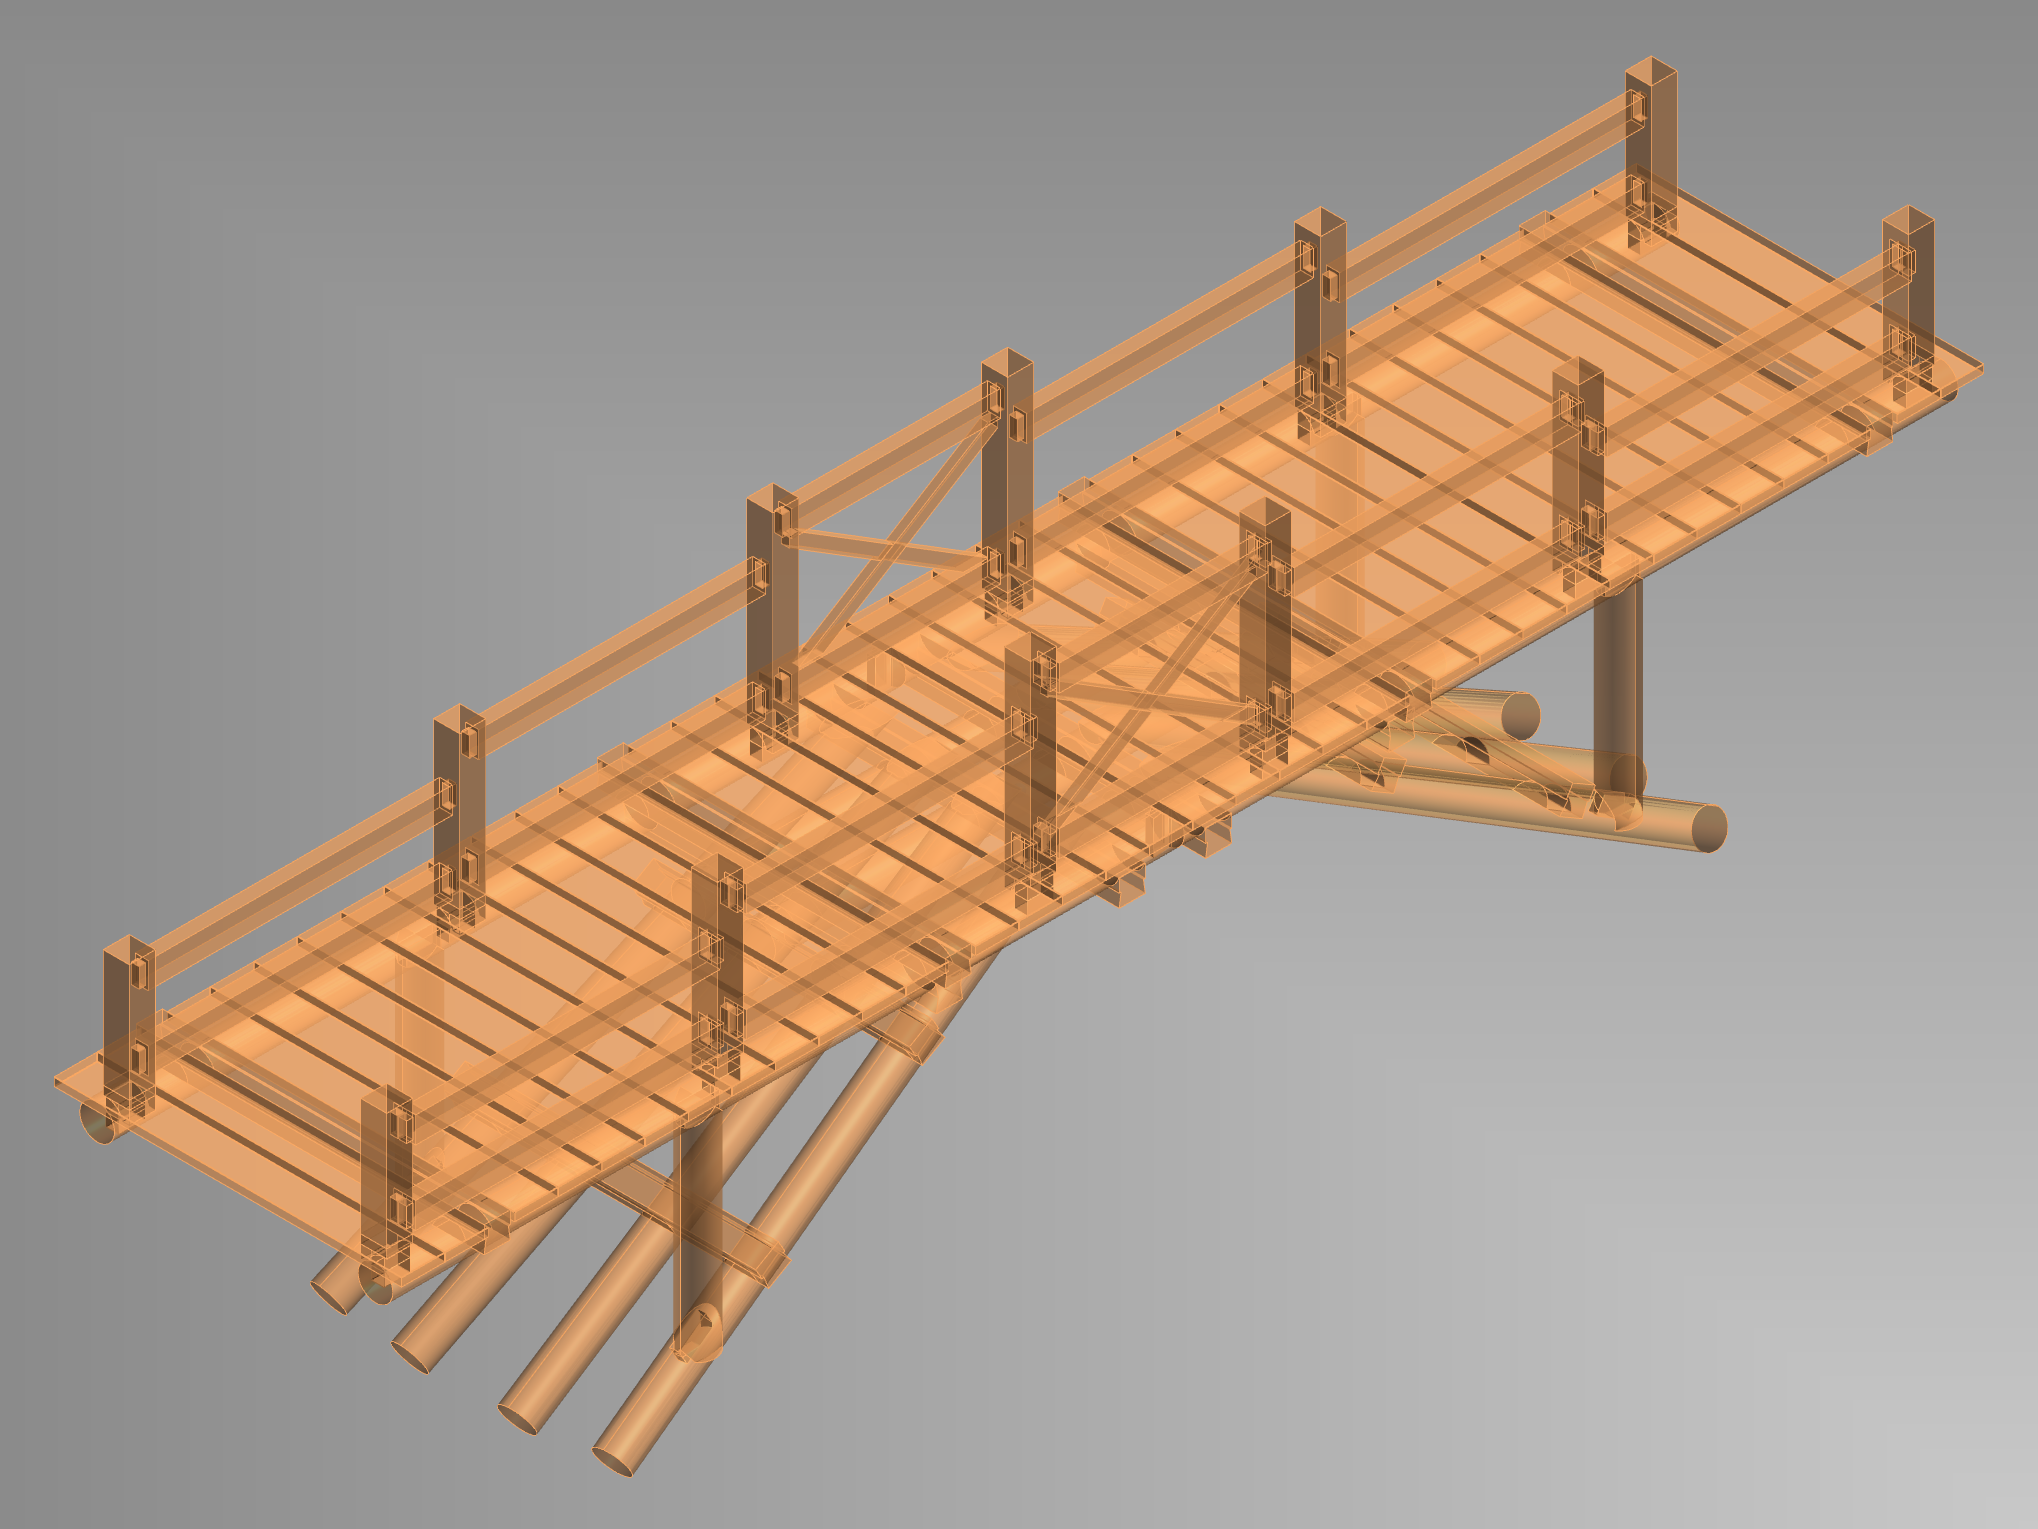
I was able to export a bridge.step file which could be imported into FreeCAD to generate a drawing.

Full page drawing with other elevation views.
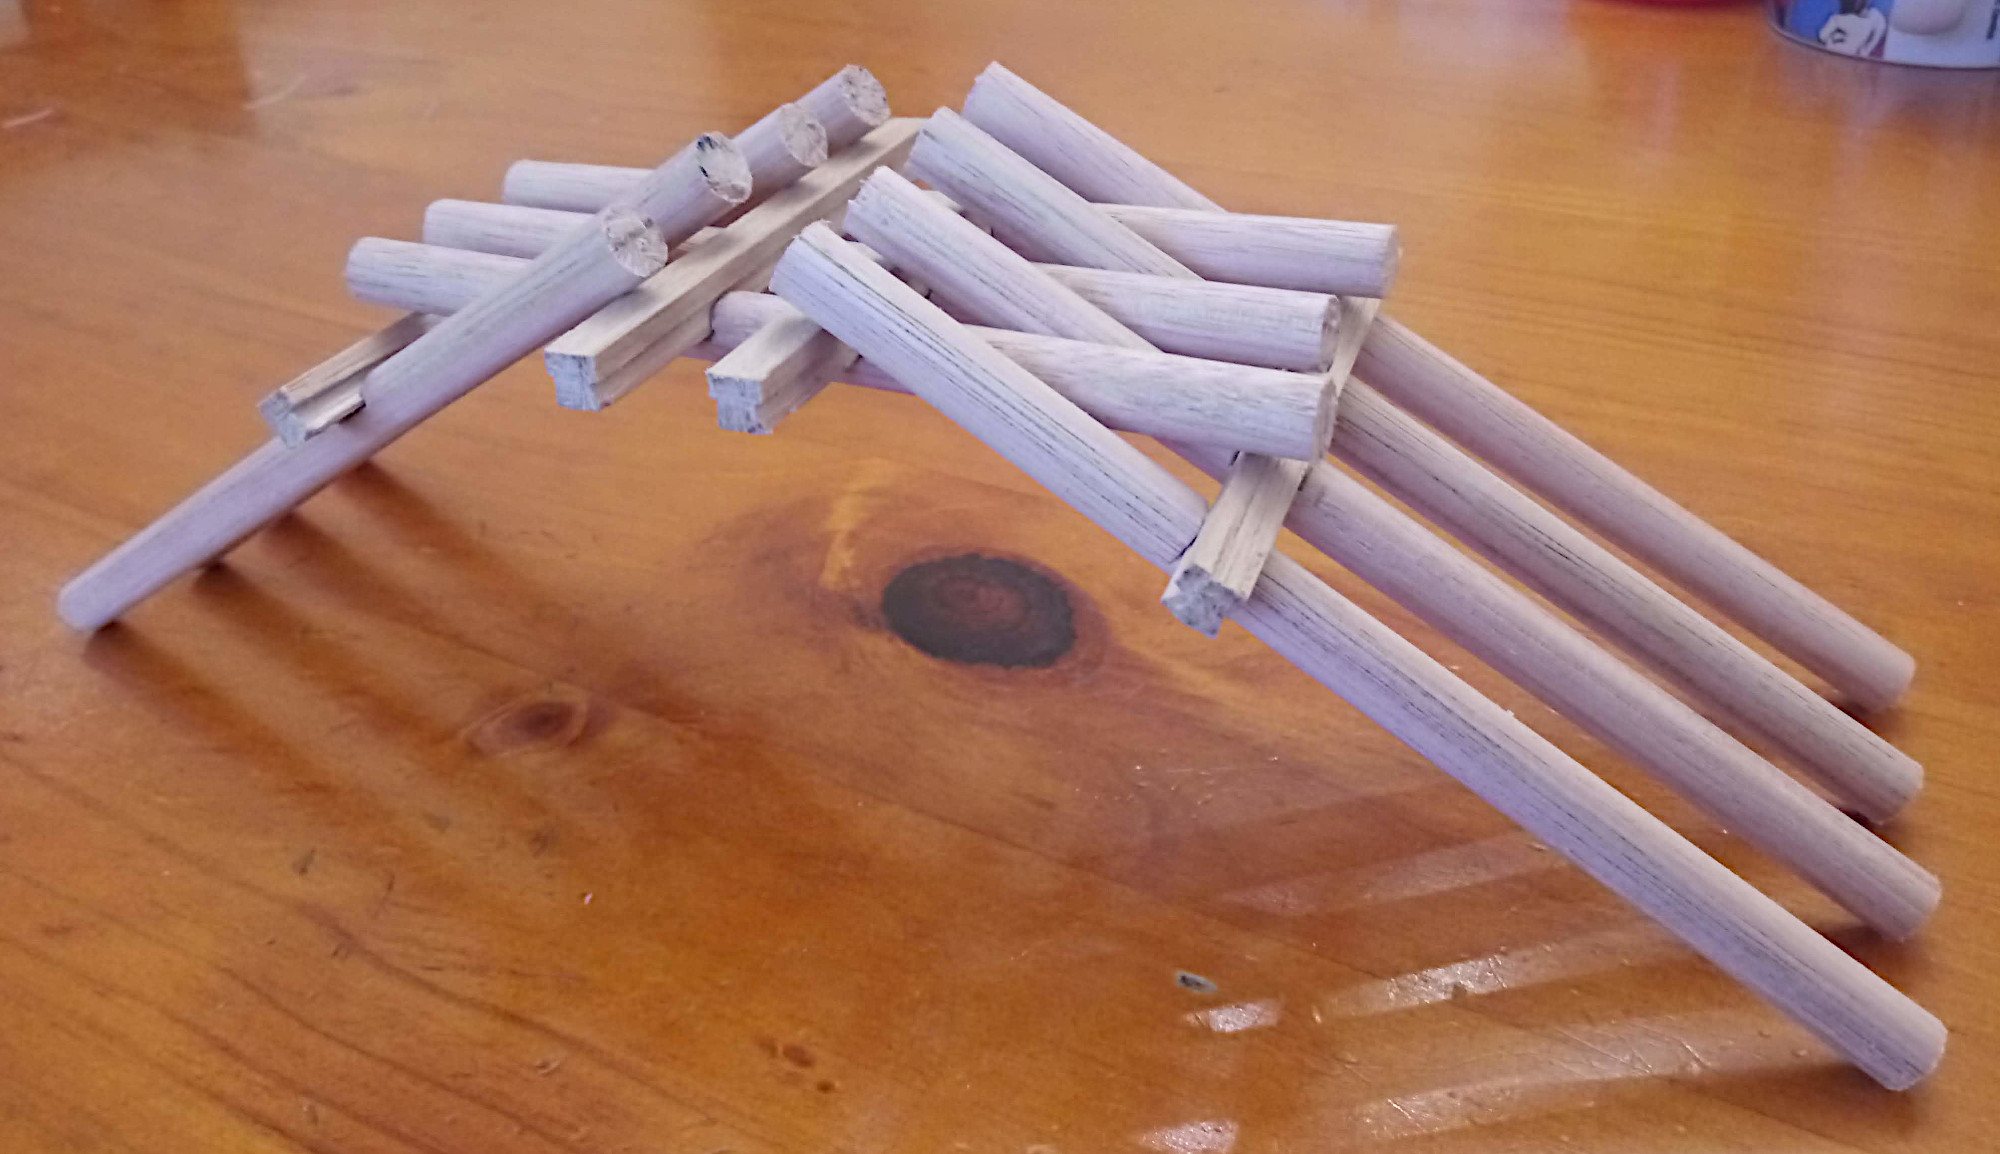
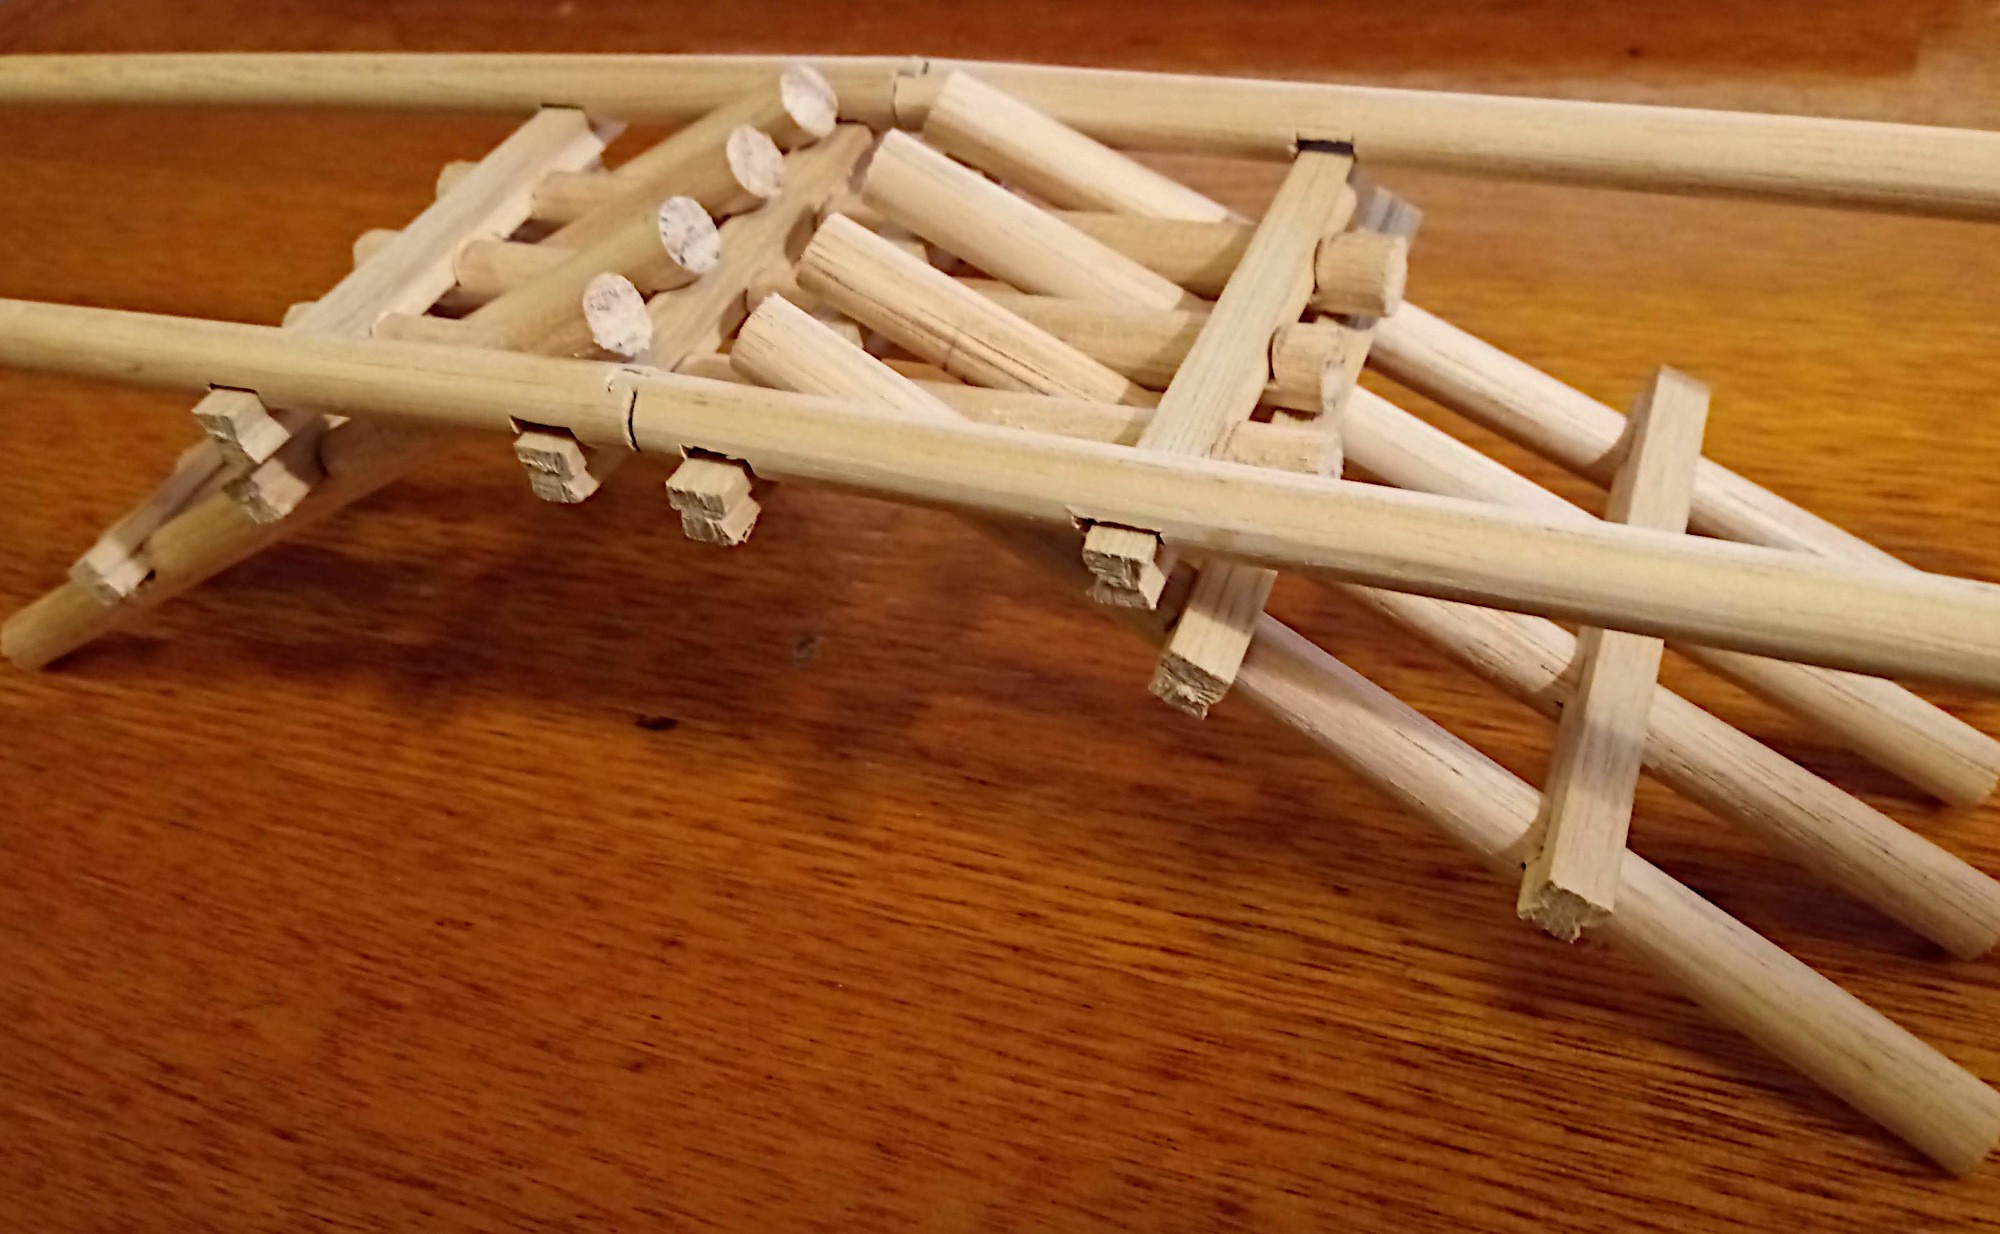
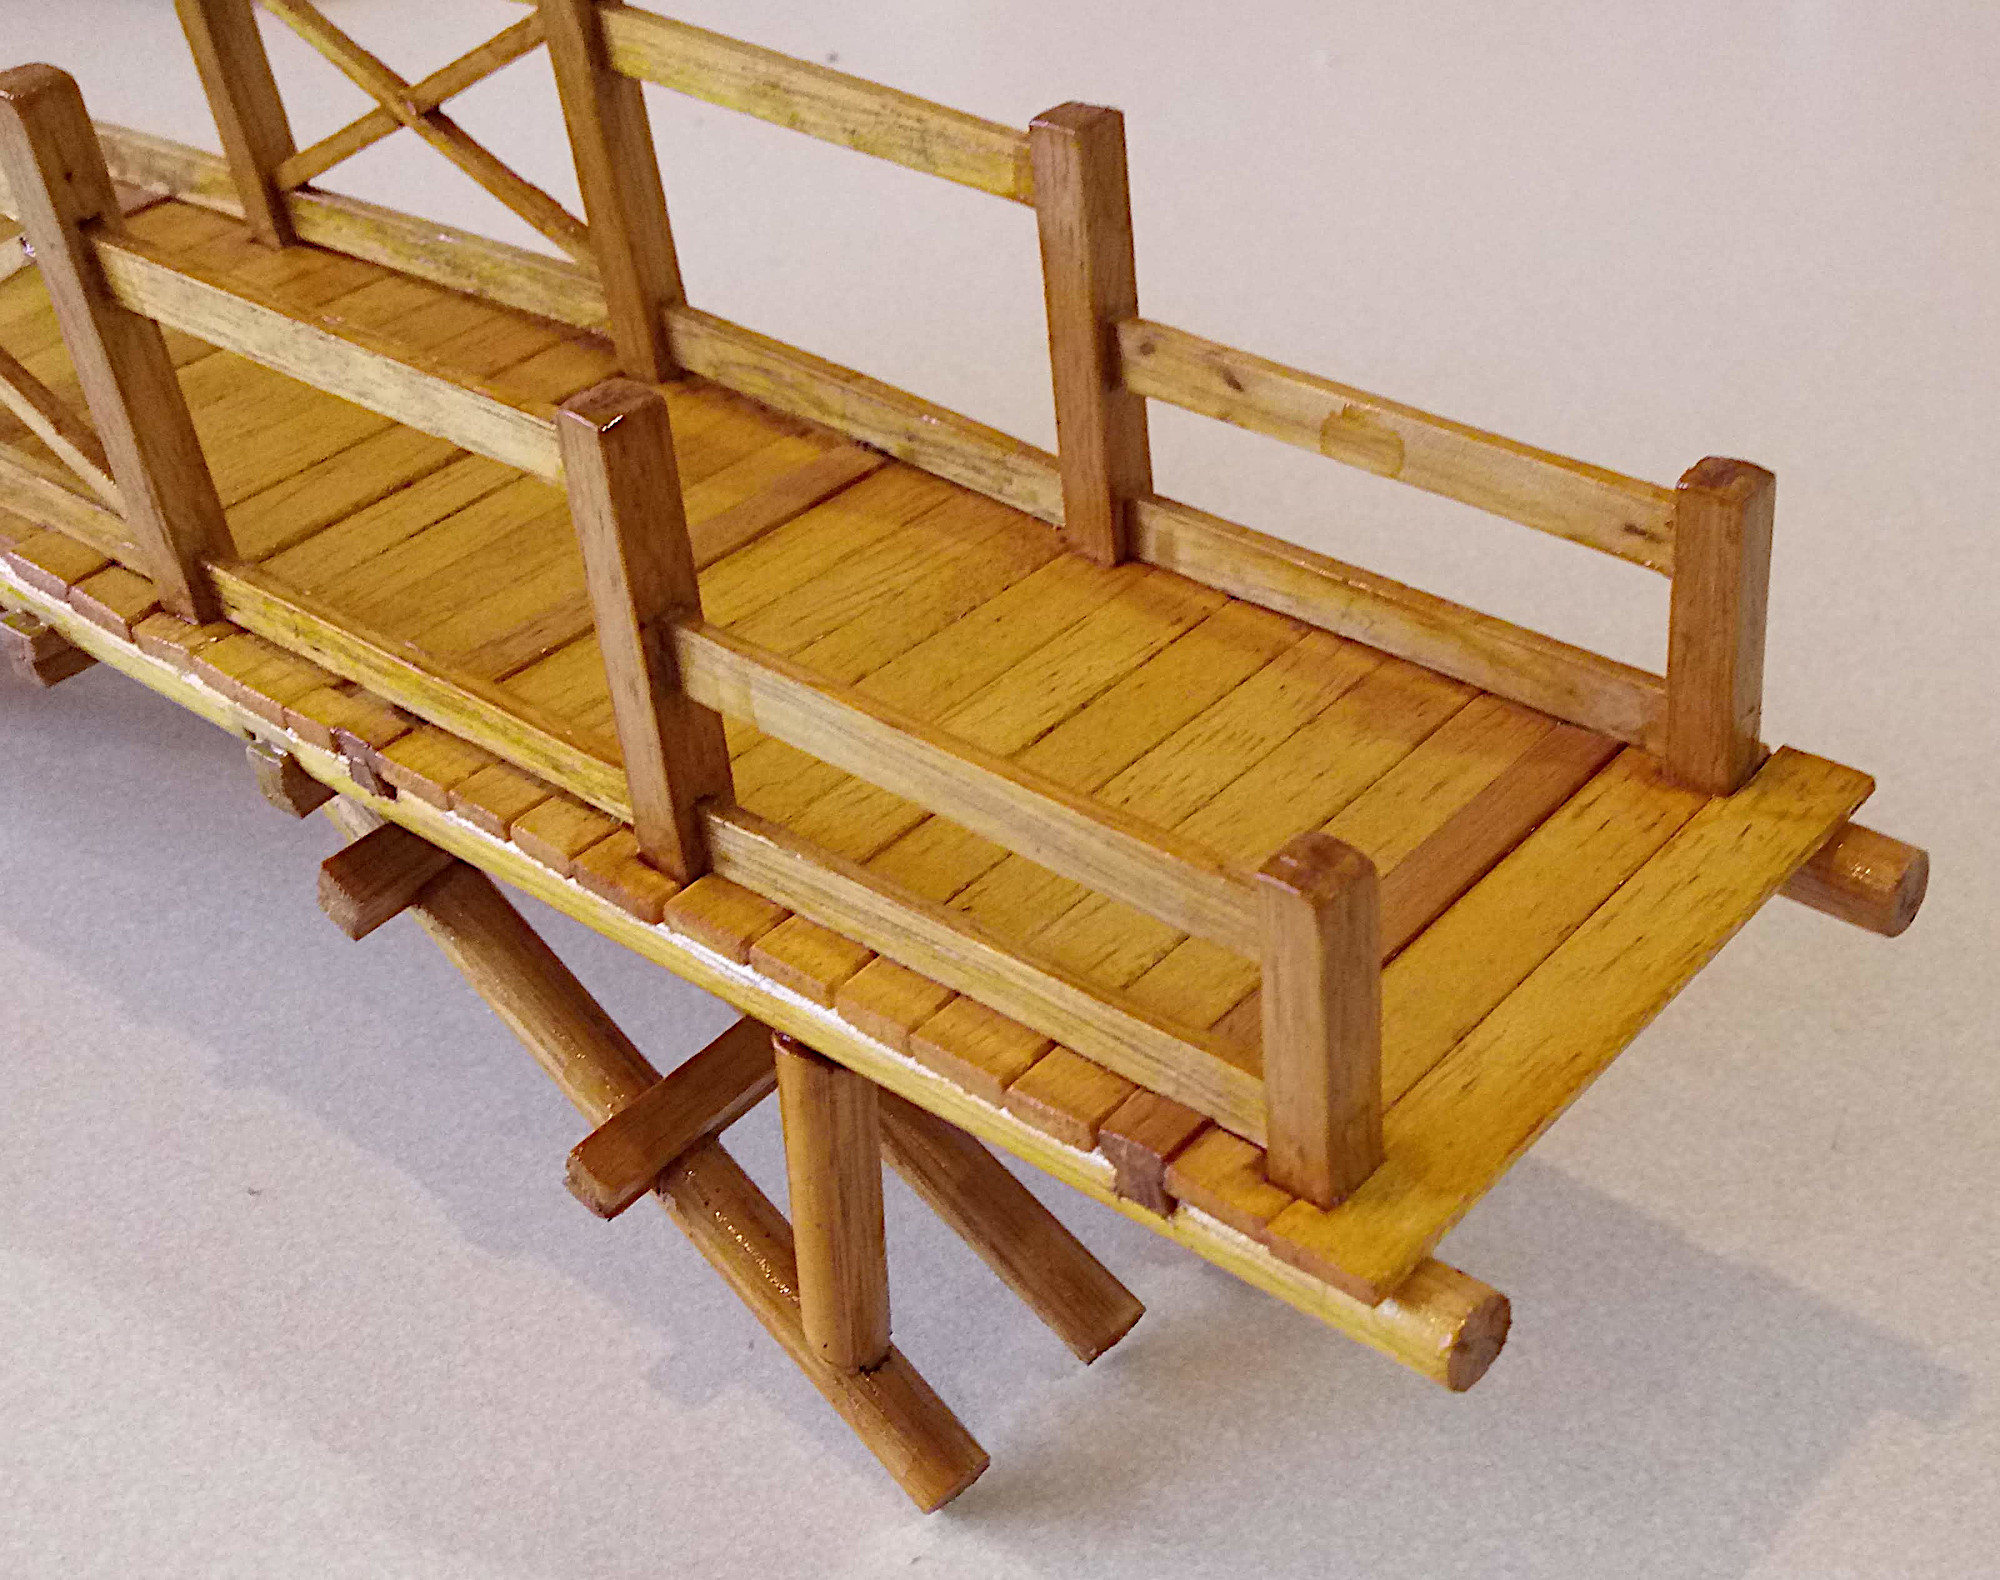
Scale model
Even though I created the CAD model and drawings, construction was done by eye.
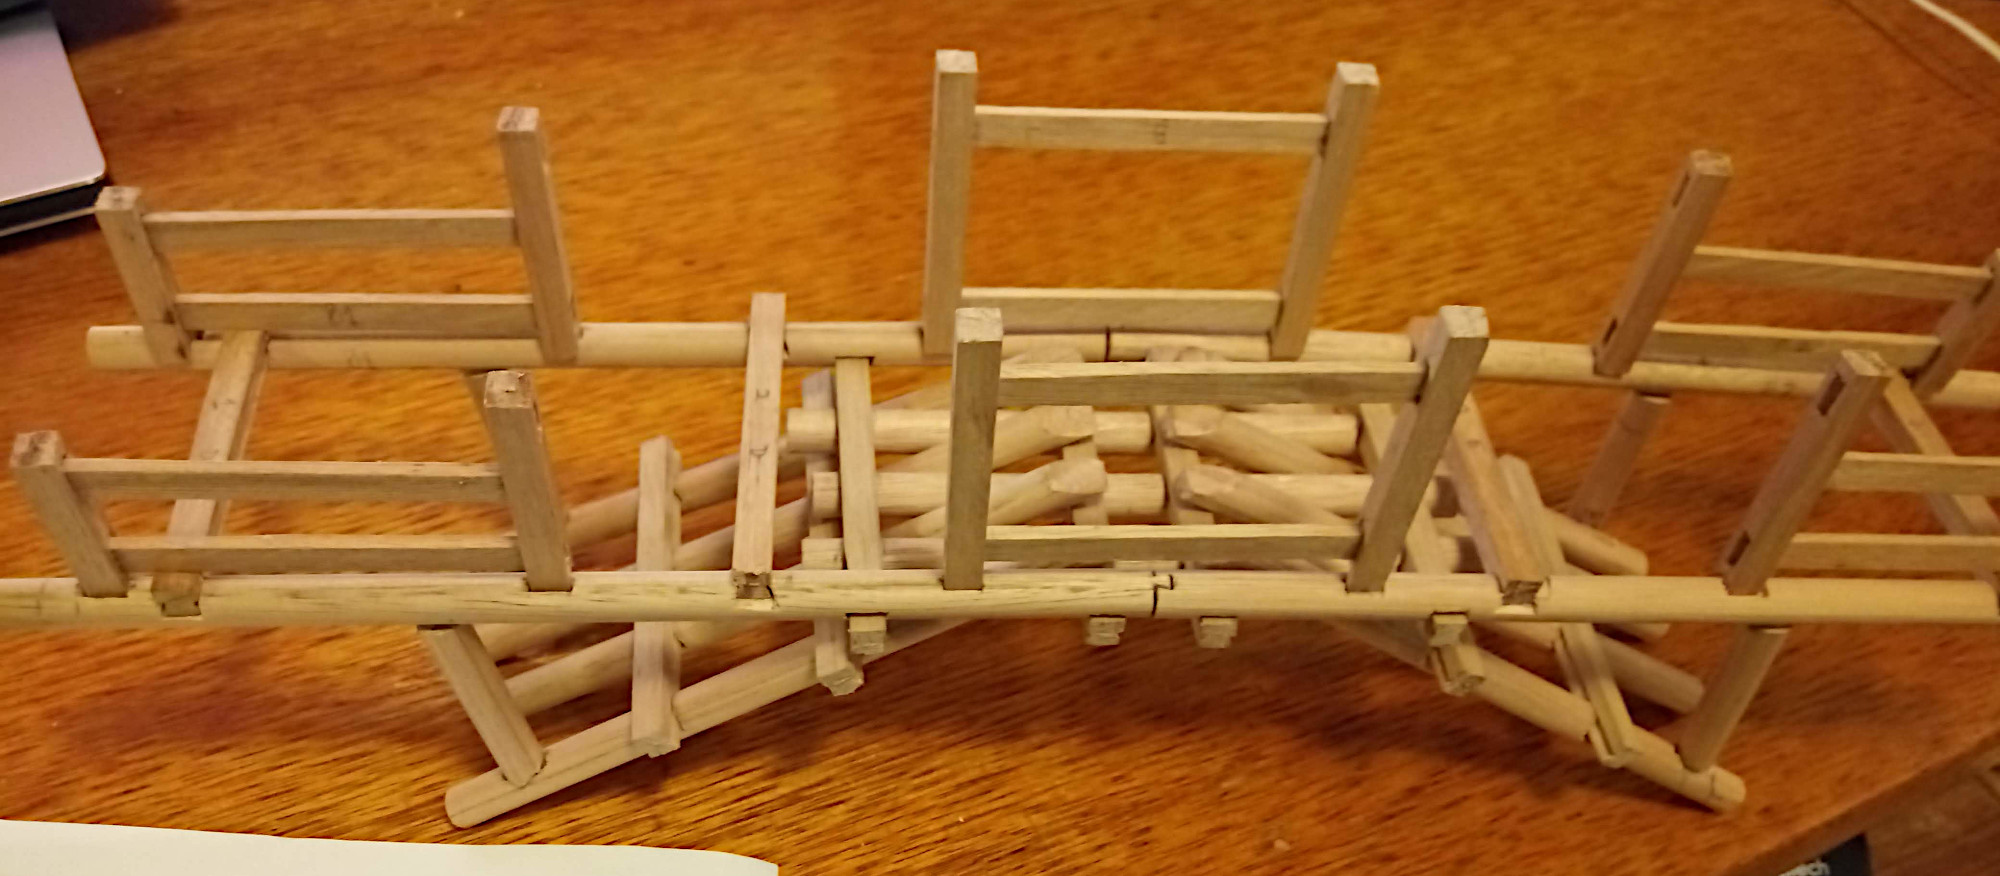
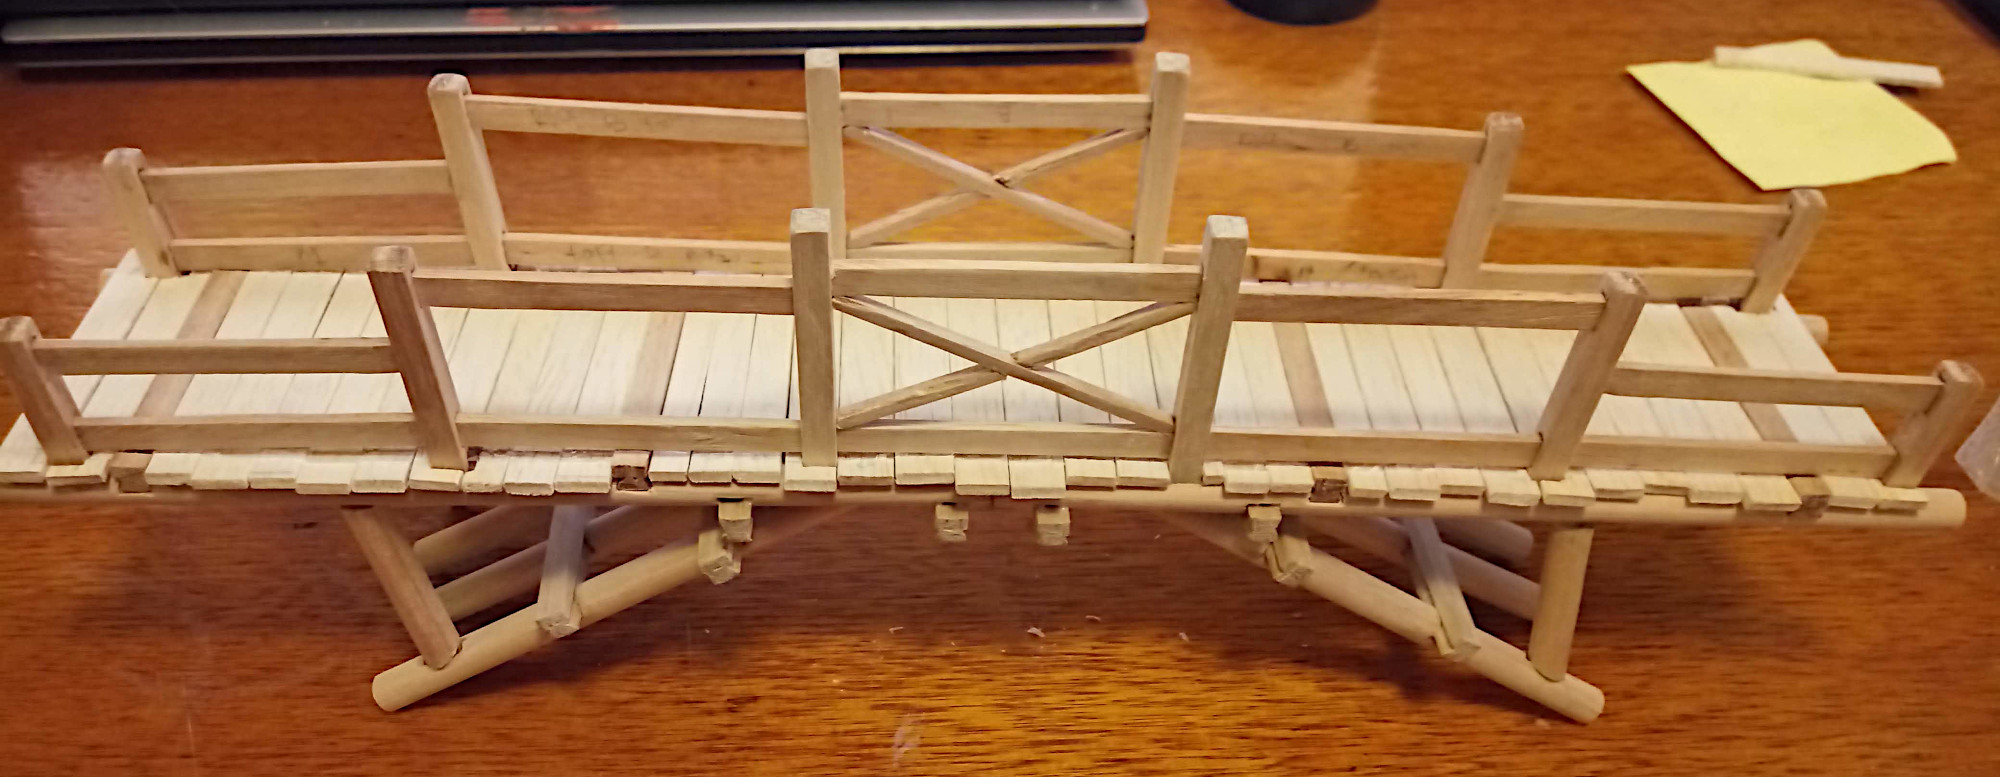
The final model would hold together without glue, but it’s a bit fragile that way and I’ve spent enough time assembling it, so I glued it with PVA craft glue.
It was then finished with a few coats of shellac.
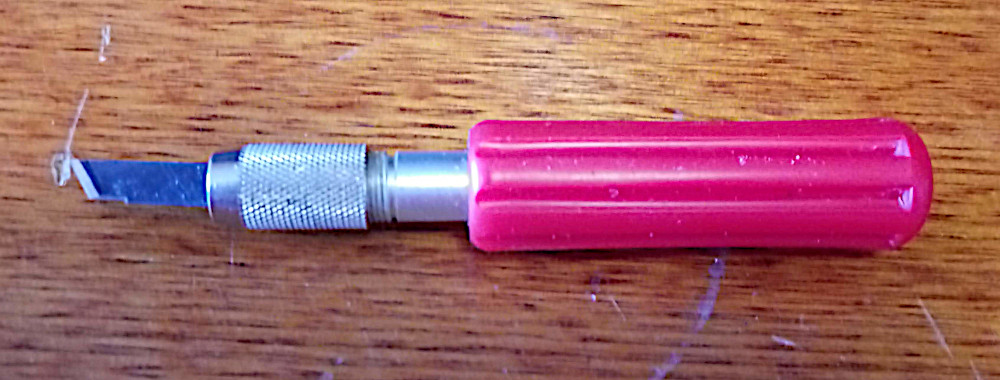
Tools & Materials
- Craft knife
- Mini-hacksaw
- Sandpaper
- 8mm x 1200mm Tasmanian oak round dowel (2 pieces)
- 6mm x 6mm x 1200mm Tasmanian oak dressed all round moulding (2 pieces)
- 2.5mm x 100mm x 915mm balsa sheet (1/3 of a piece)
I cut mortises with the craft knife when it would have been more sensible to make a jig to drill out mortise holes.
Rails were created by splitting the square dowel.
There wasn’t much waste, probably about 20mm left from each of the round and square dowels.
Next steps?
- 3D printed plastic model
- Paper model